
- The goal
- The preparation
- The construction - step by step to the trellis for blackberries
- frequently asked Questions

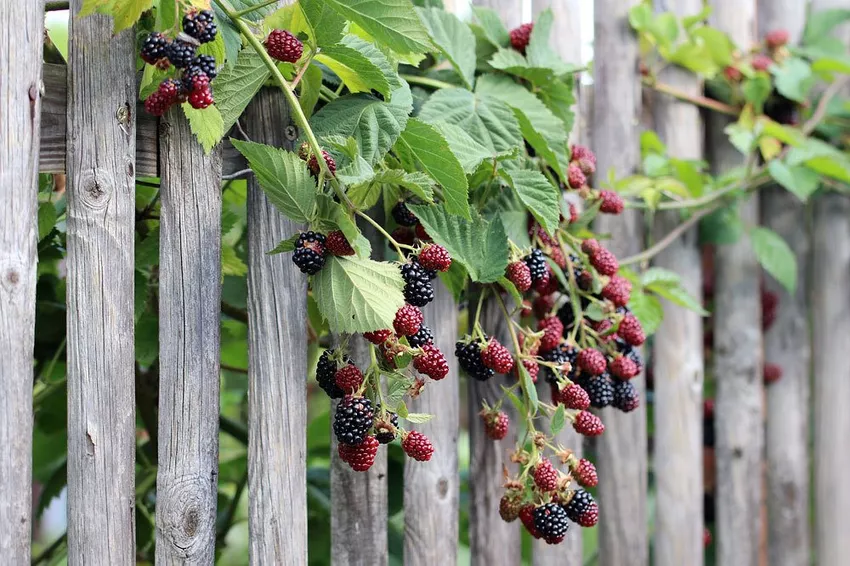
Blackberries are very popular in home gardens. A trellis provides the shoots with support so that all the fruits get enough sun. With our instructions you can easily build this climbing aid yourself.
In a nutshell
- the trellis can be built with few materials and simple tools
- Climbing aid built in such a way that the high loads of lavishly draped blackberry tendrils can be carried
- The simple basic construction can be expanded at will
- The trellis and foundation are designed in such a way that dismantling is easy and possible without leaving foundations etc. behind
The goal
The instructions describe the construction of a simple trellis with two posts and trellis wires stretched between them (basic variant). Optionally, it is explained how to build extensions with additional posts (option 1) and in width with several parallel trellis wires (option 2).
The preparation
In order for the construction to proceed quickly, you should obtain all the materials and tools required for your trellis and have them ready before you start working. Then all the work steps described below can be implemented quickly and without unnecessary delays.
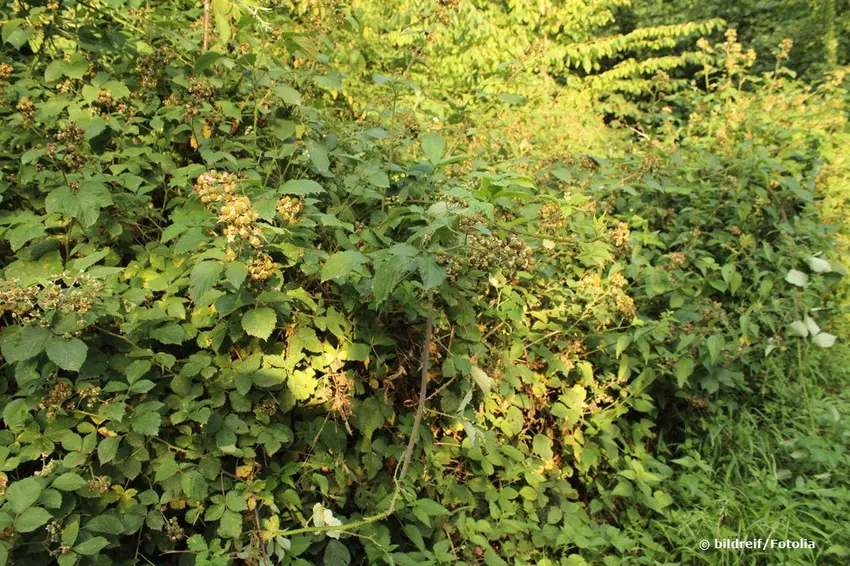 wild bramble
material
basic variant
- 2 fence posts, cross-section approx. 10 x 10 centimetres, 150 to 200 centimeters long
- 2 drive-in sleeves, galvanized steel, suitable for fence posts
- 1 roll of garden wire, at least 2 mm thick, galvanized or plastic-coated
- Nails, e.g. galvanized roofing felt pins, or comb nails 2x50mm
- 4 metal pegs or rafter nails, at least 20 centimeters long
Option 1 - additionally for each expansion element:
- 1 piece of fence post as described
- 1 piece drive-in sleeve as described
- 2 pegs or rafter nails as described
- extra wire
Option 2 - per fence post additionally:
- 1 piece of batten 2.4 x 3.4 centimeters, length approx. 100 centimeters
- Wood screws approx. 5 x 50 millimeters
- extra wire
tool
basic variant
- sledgehammer
- hammer
- pincers
- level
- Leftover piece of squared timber or plank as a base for driving in
option 1
- no additional tool required
option 2
- Screwdriver suitable for existing wood screws
- Wood saw, e.g. foxtail
- Cordless screwdriver with wood drill, diameter 3 millimeters
The construction - step by step to the trellis for blackberries
Step 1 - The location
First and foremost, you should determine where you want your trellis to stand. Either the location is already given by blackberries growing there, or you have already envisaged a part of your garden for the later planting of a blackberry bush. When choosing a place, also keep an eye on the subsequent configuration of your climbing aid:
- Post spacing between 1.00 and 2.00 meters
- lateral And around 1.00 meters of space at the front for guying, as well as tending and harvesting the blackberries
- Location bramble bush ideally in the middle between posts
- Option 1: each additional post an additional distance of 1.00 to 2.00 meters, in a straight extension or angled to the base line
Step 2 - the foundation
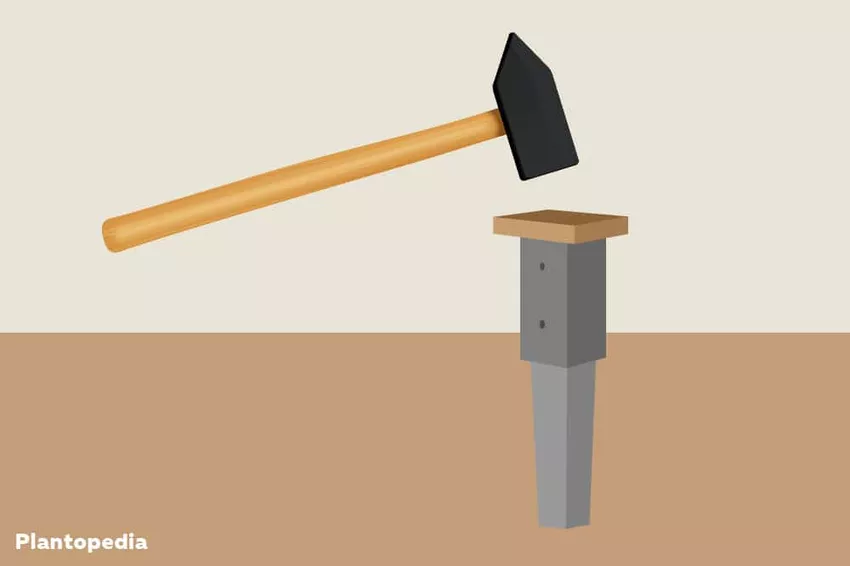
The first real work is to create the basis for the entire construction: the foundation
- Press ground sockets hand-tight into the ground at the planned post locations
- align vertically with a spirit level
- Drive sleeves fully into the ground with a sledgehammer
- place or adjust leftover wood to avoid damage to the metal
- check alignment during the process and correct if necessary
Step 3 - the posts
Now the posts are set up as the actual supporting elements of the entire scaffolding:
- Set posts in ground sockets
- Secure the posts with nails through the existing holes in the drive-in sleeves to prevent them from slipping out
Attention: If, after installing the posts, it becomes apparent that the climbing aid is at an angle, this cannot be corrected at this point. Pressing the posts correctly would only loosen the soil. Instead, you should bring the alignment back to the vertical during the final guying using the guy ropes.

Step 4 - the vine ropes
After the load-bearing posts, the elements that will later serve as climbing aids for the blackberries come into play. Here you determine how dense the tendrils will grow later, but also how much light the individual shoots with their fruits will receive.
- Drive a nail into each fence post 100 centimeters from the ground
- hammer in further nails upwards every 50 centimetres
- leave the nails sticking out about 1 centimeter
- Wrap the wire twice around the post above a nail, twist the end with the wire leading to the reel
- Unroll the wire and run it horizontally to the other post
- wrap 2x around the post above the nail
- Cut off the protruding end and twist with the tensioned wire
- Repeat the process on all nails (different heights).
Tip: Ideally, the wire between the two posts should be slightly stretched so that it does not sag when the blackberries are later applied. So that he does not pull the posts of the climbing aid together when tensioning, you can place a helping person on each of the two posts until you have created the following bracing. If these helpers are not available, the posts may also tilt slightly inwards. You can then straighten them again by untying them.

Step 5 - The Guyline
If you go to the trouble of building a trellis, you want it to be able to withstand the enormous strain of the lush, heavy-weight brambles. To prevent the fence posts from tilting inwards or collapsing completely as the load increases, the last step is lateral bracing similar to tent bracing:
- Determine two anchoring points for each post: to the side and to the "back" (opposite direction to the climbing wires) each approx. 100 centimeters away from the post
- Hammer a peg or rafter nail into the ground at an angle away from the post
- check the vertical alignment of the posts and readjust if necessary (a helper is required to keep the posts vertical until they are anchored)
- Wrap the wire around the peg/nail at a tension point and twist the open end
- Lead wire to top nail in post and wrap twice around post
- Lead the wire further to the second clamping point and fix it there in the same shape
Notice: The guy wires shouldn't sag, but they don't have to be tight either. Due to the thickness of the selected wire, you hardly give in at moderate tension and the climbing aid, however, gives only minimally. It is ideal if a helper pulls the post slightly outwards when building the bracing and also tensions the climbing wires.

Option 1 - expansion elements
If the trellis is to be created for larger or even for several blackberry bushes, it can be expanded as desired with additional posts and tension wires:
- create additional posts at a distance of 100 to 200 centimeters in a defined axis, or bend as described
- Bracing the middle posts according to the instructions, but only in the lateral direction to the rank wire direction, end posts as described

Option 2 - multiple vine wires
If, on the other hand, you do not want to increase the length of your construction, but increase it in width, build an auxiliary construction over which you can stretch several tension wires at any height already determined:
- Divide the roof batten into sections approx. 50 centimeters long
- Use a wood drill to drill holes through the flat sides of each piece of slat about 5 centimeters and 15 centimeters from the ends
- additionally drill 2 holes approx. in the middle of the slat through the flat side, distance approx. 5 centimeters laterally and vertically
- Align the batten pieces in place of the retaining nails described above for the tensioning wires perpendicular to the tensioning direction of the wires and horizontally at the sides
- Align the roof batten "upright", i.e. with the flat side on the post
- Screw the slats to the post with wood screws through the middle holes with wood screws
- Guide the tension wire on the outer post through the hole in the batten, guide it twice around the batten and twist the open end
- Feed the wire horizontally to the same hole of the next post through the hole
- Fasten the tension wire to the last post as described for the starting post
- Repeat the process for all cross braces and holes

frequently asked Questions
How durable is the construction?The trellis for blackberries is designed to withstand the strain on the shoots for several seasons. However, over the years it may be necessary to replace or retighten individual tension wires. This is best done in autumn or winter when pruning the blackberries.
How long does it take to build the climbing aid?The duration of the work can vary depending on the desired size of the trellis, your own experience and the people involved. Once all the materials and tools are ready, you should set aside an afternoon to build the structure.
Can other materials that may already be used be used?Of course, you can also create your trellis from other materials. However, the use of metal in the form of wires or rods is recommended for the parts of the structure that are covered with vines. If wood were used, water would collect on the horizontally arranged components and the climbing aid would quickly age and fail.
Are there limits to how many parallel stay wires can be stretched over option 2 described?In principle, you are free to choose the number of tension wires yourself. However, with more than 4 parallel wires per height, you no longer gain any advantages. More wires result in denser growth, so the inner tendrils no longer receive light. On the other hand, if you make the cross braces wider, the load increases and the construction can fail under the enormous load.